How to use a Table block
Use a table to make information easier to compare and scan for users. This lets users compare information in rows and columns.
How to use a Table block
A table should be used to present data (usually figures), for example Table 1:
| 2022 to 2023 academic year | 2023 to 2024 academic year | |
|---|---|---|
| Living with your parents | Up to £8,171 | Up to £8,400 |
| Living away from your parents, outside London | Up to £9,706 | Up to £9,978 |
| Living away from your parents, in London | Up to £12,667 | Up to £13,022 |
| You spend a year of a UK course studying abroad | Up to £11,116 | Up to £11,427 |
| If you’re 60 or over on the first day of the first academic year of your course | Up to £4,106 | Up to £4,221 |
It is usually better to present complex written data using a List block.
To make a table accessible you must:
- have a header row, which explains the content
- capitalise headers
- add a caption to the table to explain what it shows
- do not change the background colour of the table
Find out more about how to make tables accessible.
How to add a Table block
To add an Table block to your page:
- Click the plus (‘+’) button to add a block to your page.
- Type ‘table’.
- Click the ‘Table’ option.
- Enter the number of columns you want under ‘COLUMN COUNT’ – you can change this later
- Enter the number of rows you want under ‘ROW COUNT’ – you can change this later
- Click ‘Create Table’
- If you can’t see the right settings sidebar, click the black ‘Settings’ button on the top right toolbar.
- In the right settings sidebar, click the ‘Block’ tab to make sure it’s selected.
- Click the ‘Header section’ button to add a top header row
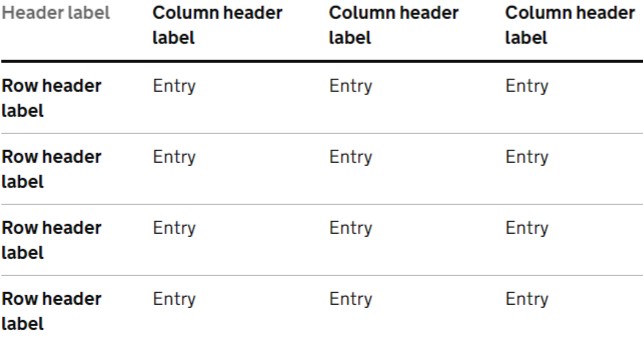
- Edit the text of the ‘Header labels’ (see Image 1)
- Click the far left of a row and press the down arrow on your keyboard
- Type your Row header label (see Image 1)
- Click the down arrow on your keyboard (or click beneath the row header) to type your next row header entry
- Use the arrow keys to navigate the cells of your table and add your other entries (see Image 1)
- Click ‘Add caption’ to explain what the table shows
How to add more rows to a table
To add or remove rows and columns to you table:
- Click your table
- Click ‘Edit table’ on the context menu
- Click the row or column options you want (for example, Insert row before)